Splashtop now supports logging in to your Gateway and Splashtop On-Prem app using the credential created from your SAML 2.0 identity providers. Please follow the below instructions to create a Relying Party Trust with AD FS.
Create a Relying Party Trust with AD FS using federation metadata
Follow Microsoft document to create a Relying Party Trust, please check this support article:
https://docs.microsoft.comwindows-server/identity/ad-fs/operations/create-a-relying-party-trust
1. In Server Manager, click Tools, and then select AD FS Management.
2. Under Actions, click Add Relying Party Trust.

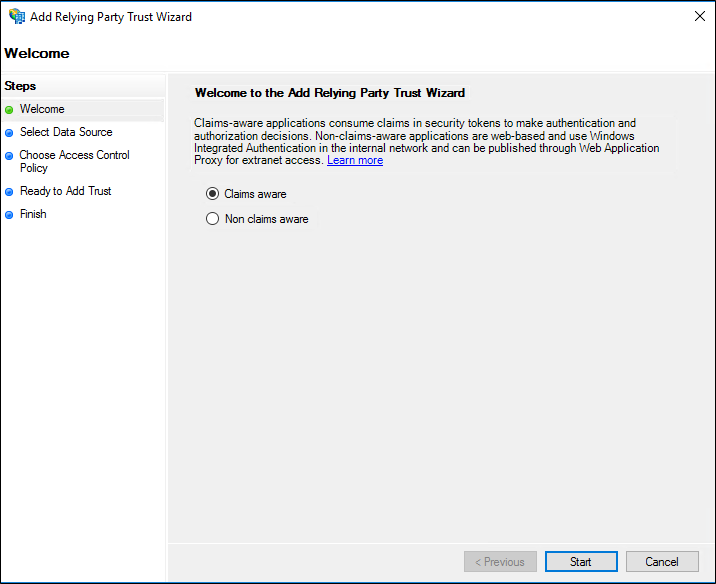
3. On the Welcome page, choose Claims aware and click Start.
4. On the Select Data Source page, click Import data about the relying party from a file. Choose the Federation metadata file, then click Next.
- Federation metadata file: Download the Service Provider Metadata in Add SSO Method form your Gateway.
5. On the Specify Display Name page type a name in Display name, under Notes type a description for this relying party trust, and then click Next.
6. On the Choose Access Control Policy select a policy and click Next.
7. On the Ready to Add Trust page, review the settings, and then click Next to save your relying party trust information.
8. On the Finish page, click Close. This action automatically displays the Edit Claim Rules dialog box.
Add a claim
1. Select the Relying Party Trust you just created, click Edit Claim Issuance Policy.
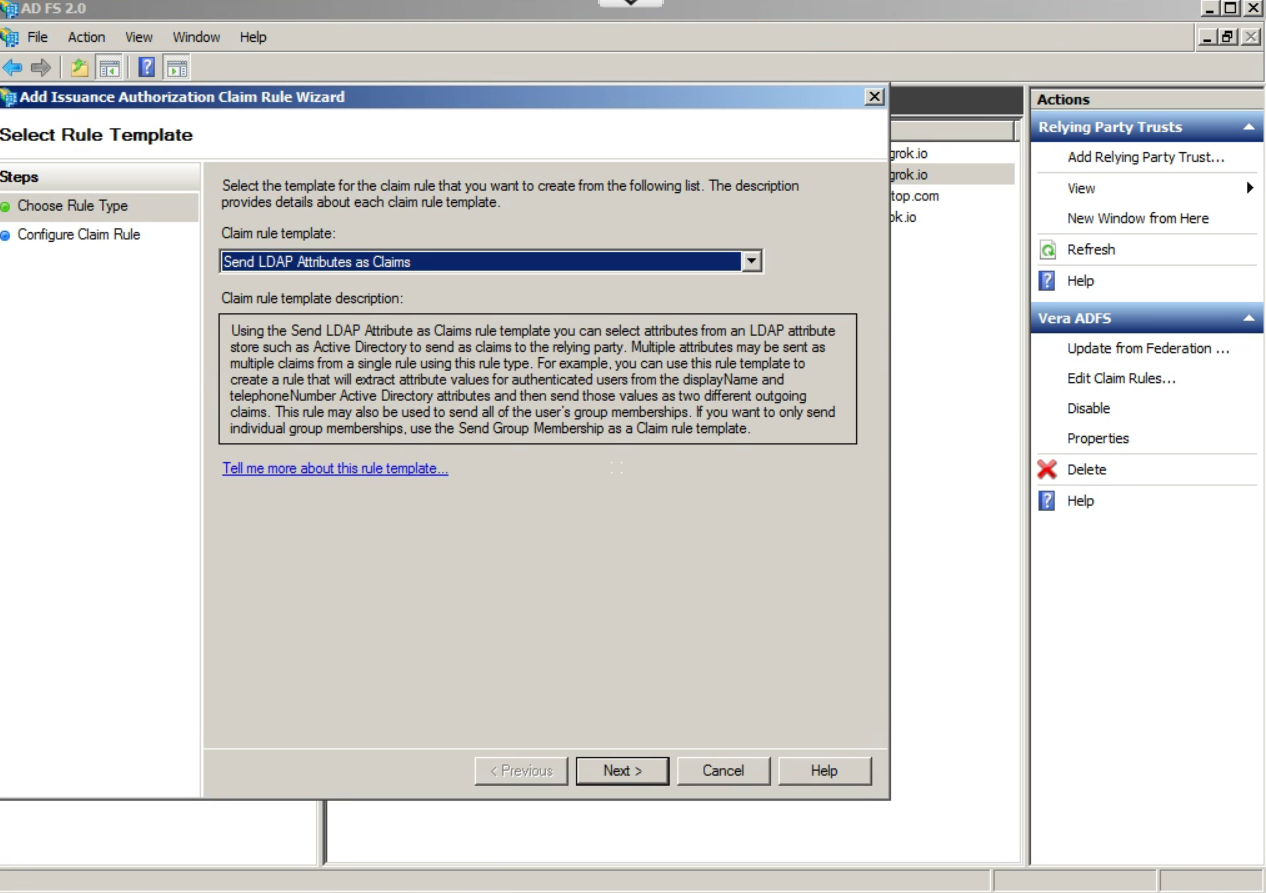
2. Click Add rule, select Send LDAP Attributes as Claims, then next.
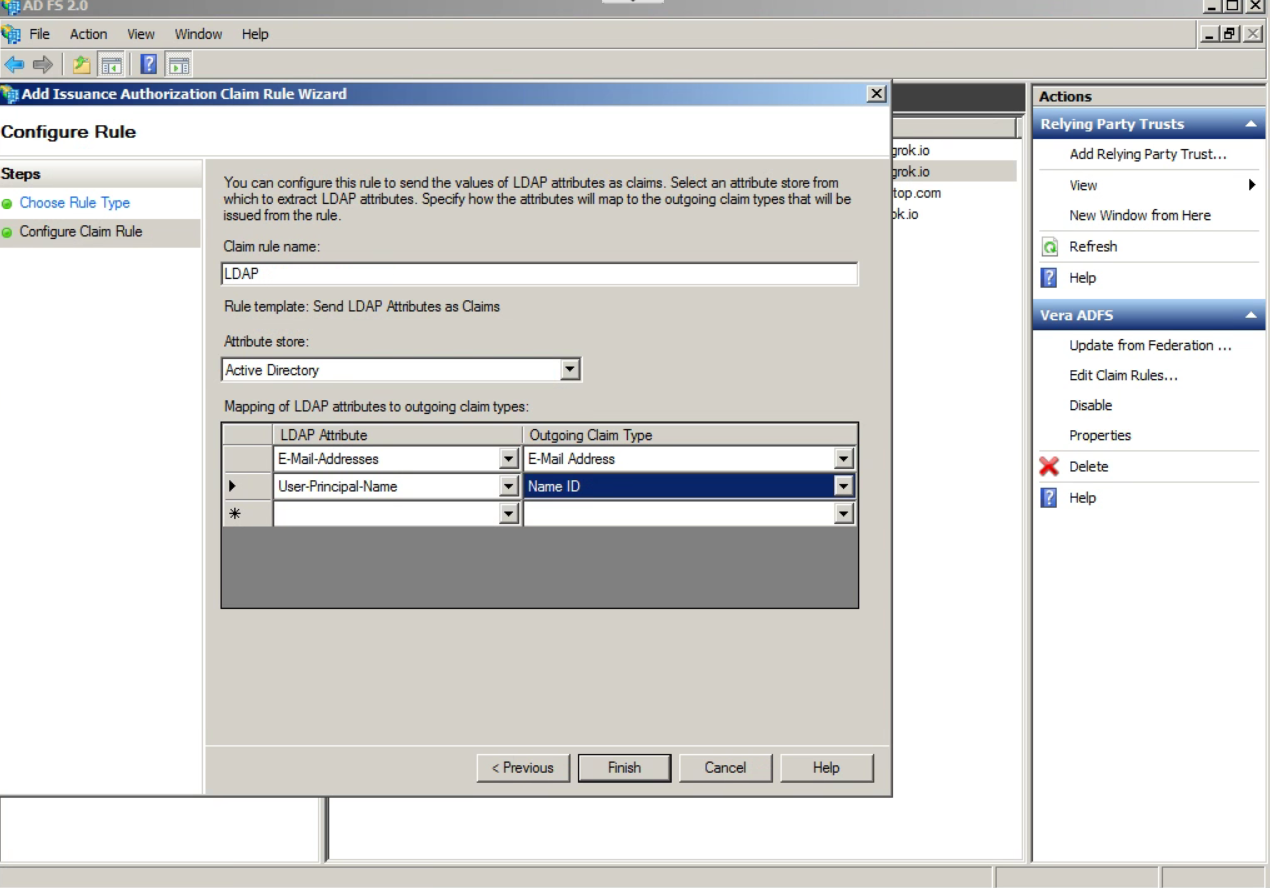
3. Select Active Directory as Attribute store, then add E-Mail-Address and User-Principal-Name.
E-Mail-Address: E-mail Address
User-Principal-Name: Name ID
Add another claim
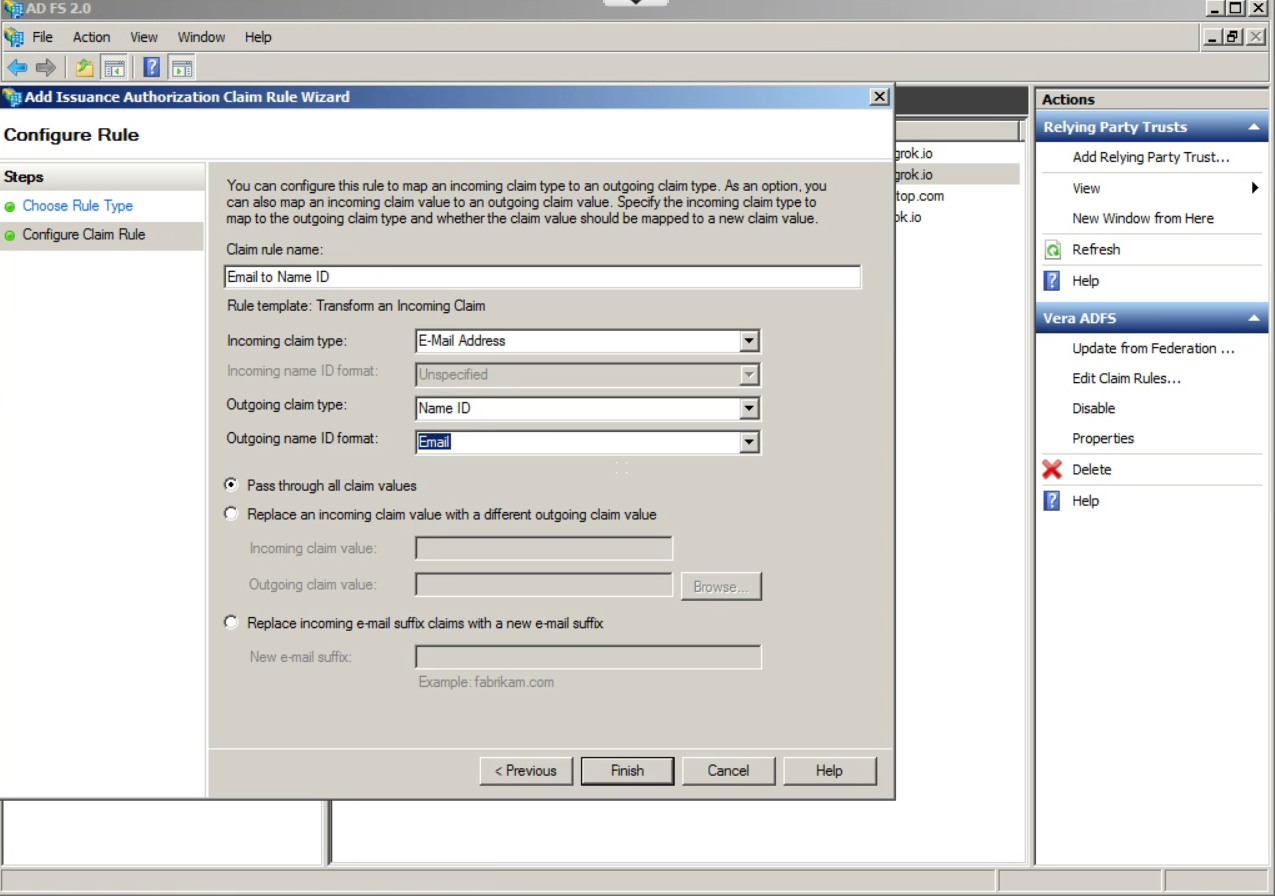
1. Add another rule with Claim rule template Transform an Incoming Claim.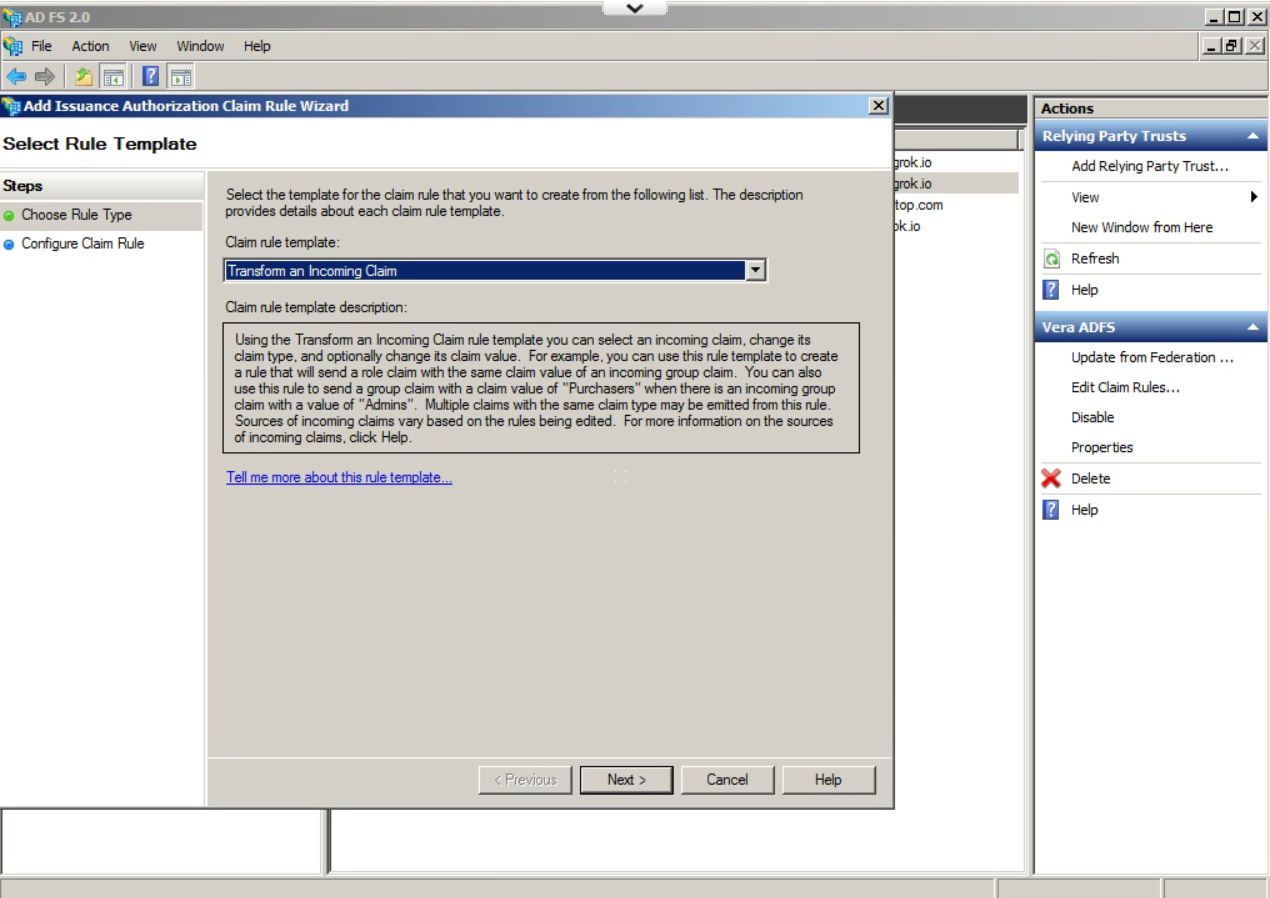
2. Set up Name ID.
Incoming claim type: E-mail Address
Outgoing claim type: Name ID
Outgoing name ID format: Email
Apply for an SSO method from your Gateway
1. Go to your Gateway/management/Team Settings/Authentication/Single Sign-On tab to click Add SSO method. Select ADFS as the IDP Type.
2. You should have your own login URL and Issuer to insert on your Gateway.
Example:
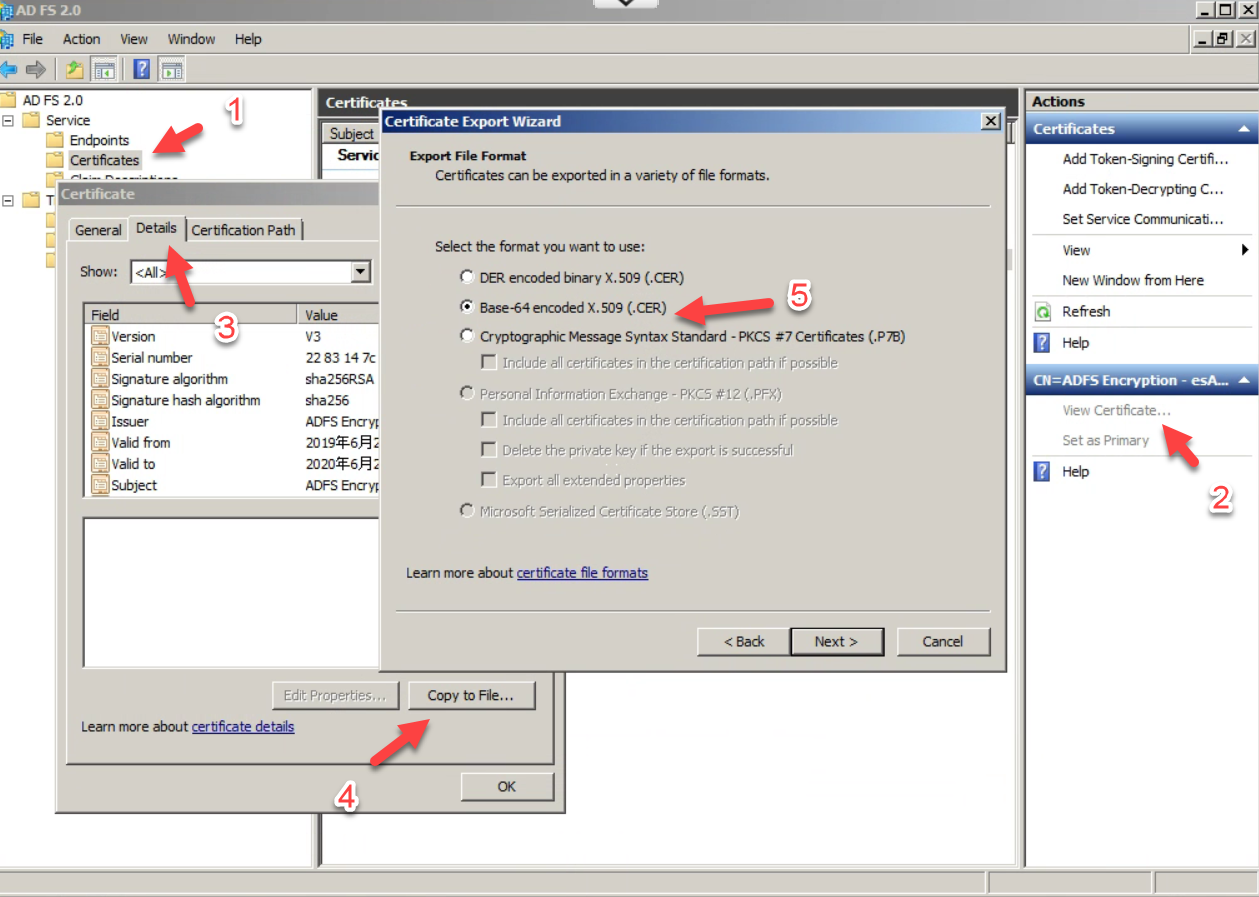
3. Follow below instructions to get your X.509 info to insert on your Gateway.
Click Service -> Certificates -> View Certificate on the Action menu on the right side. (You should already installed IIS with your certificate.)
Click Details on the Certificate window, and then click Copy to File”4, and choose Base-64 encoded X.509.
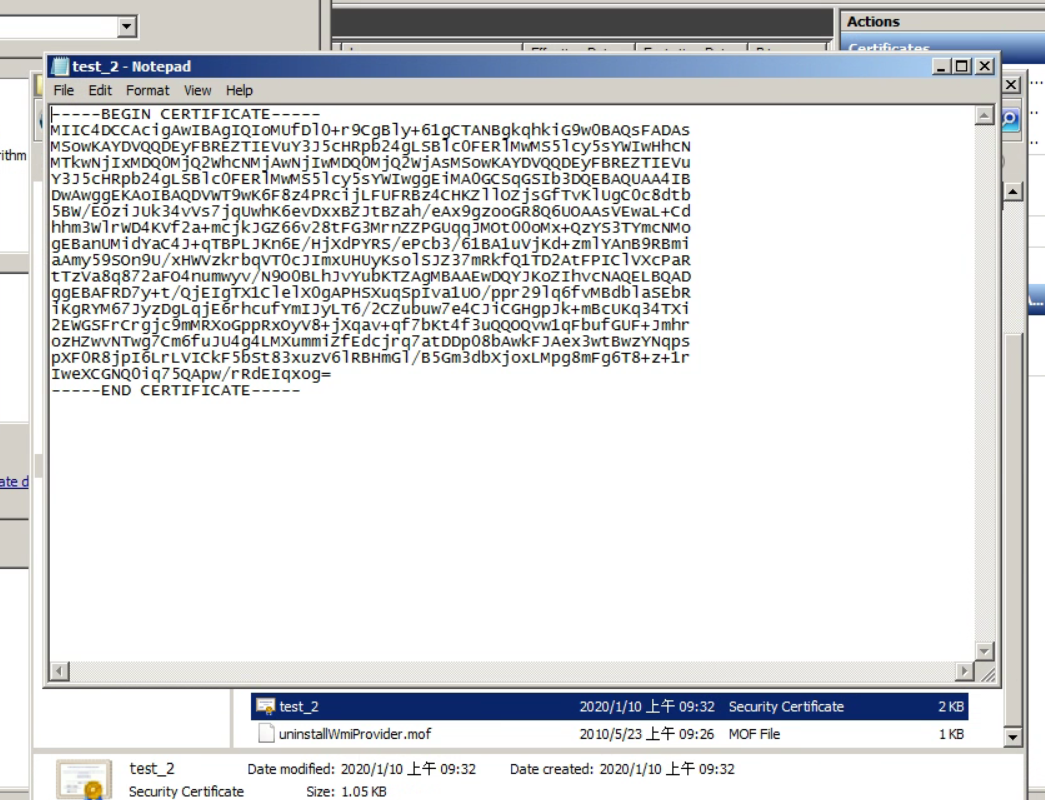
Right-click on the exported certificate, then copy the info to paste in the corresponding field on your Gateway.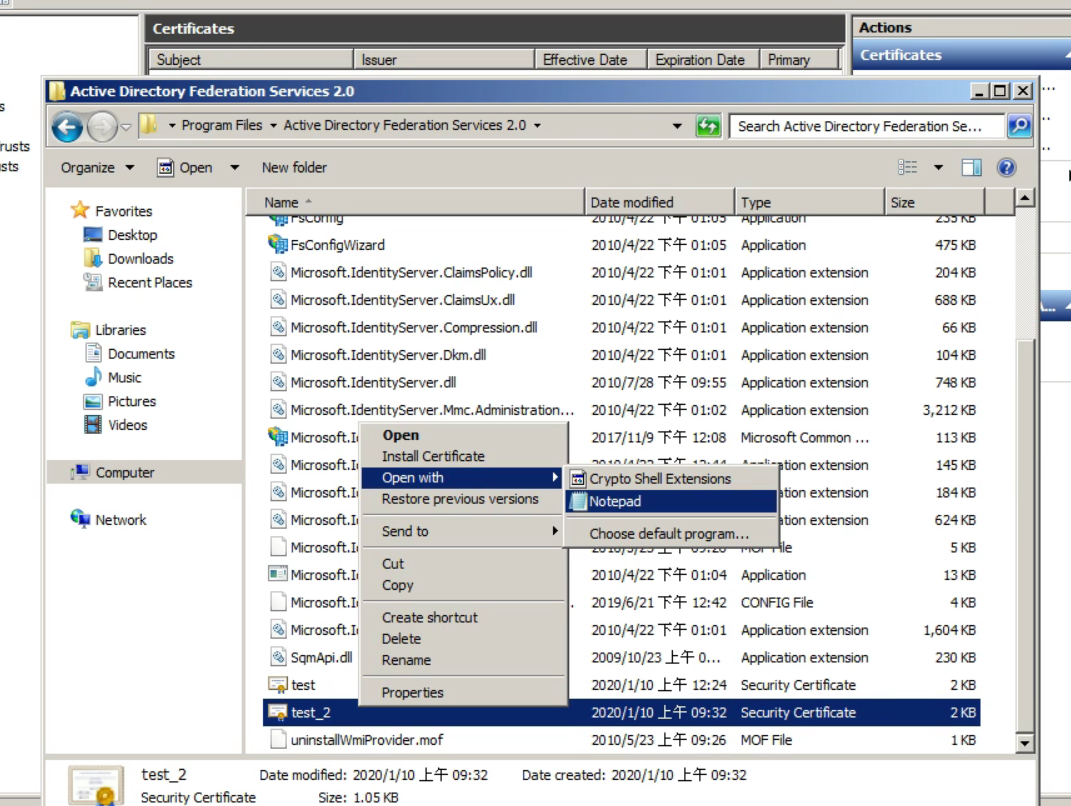
4. In addition to manually entering IDP information, you also can import your ADFS Federation Metadata via XML.